
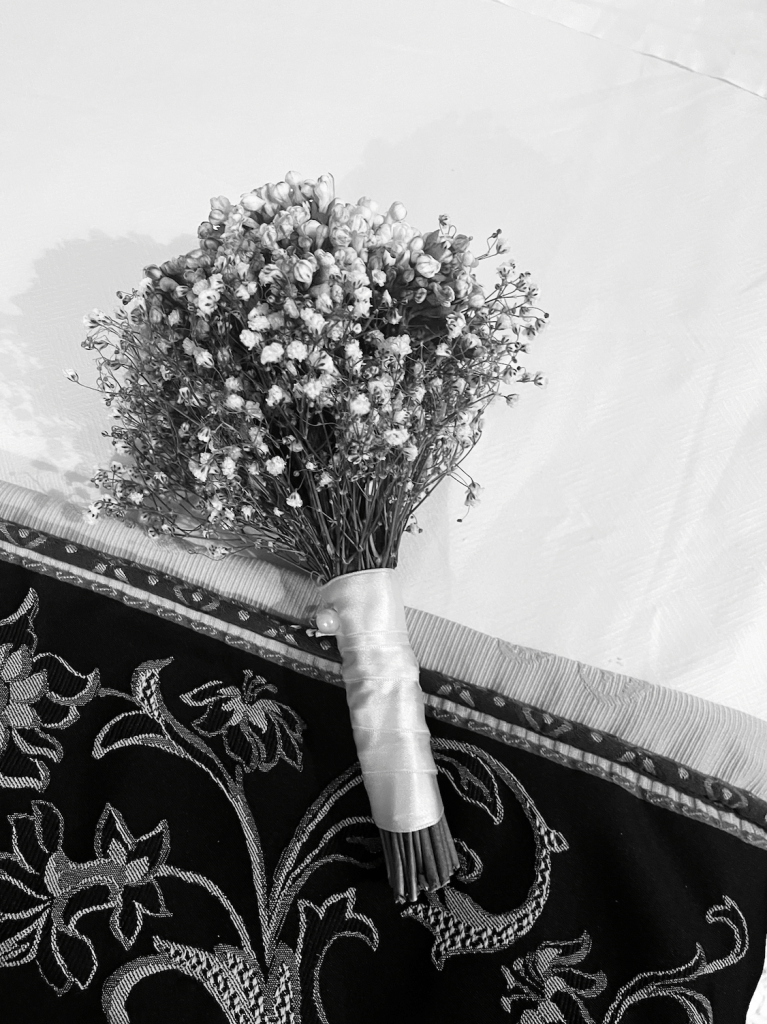
When my boyfriend and I went to a family wedding in Sorrento, Italy, I caught the bouquet.
It didn’t seem right to throw it out—it was actually unthinkable to dispose of it—so I wanted to preserve the memories of the wedding and share them with the family.
Considering how beautiful the wedding was, it was only fitting to find an easy, elegant, and relatively inexpensive way to gift parts of the bouquet to the bride, her sister, their mother, and the aunts.
If you’re looking to make a creative keepsake out of floral arrangements from an event, this is a personalized craft that anyone can make.
How to Make Your Own Pressed Flower Frames—Easy DIY
Part I–The Flower Press Process
What You’ll Need
- The floral arrangement or live flowers
- Wax paper
- Several heavy books and weighted objects
Steps
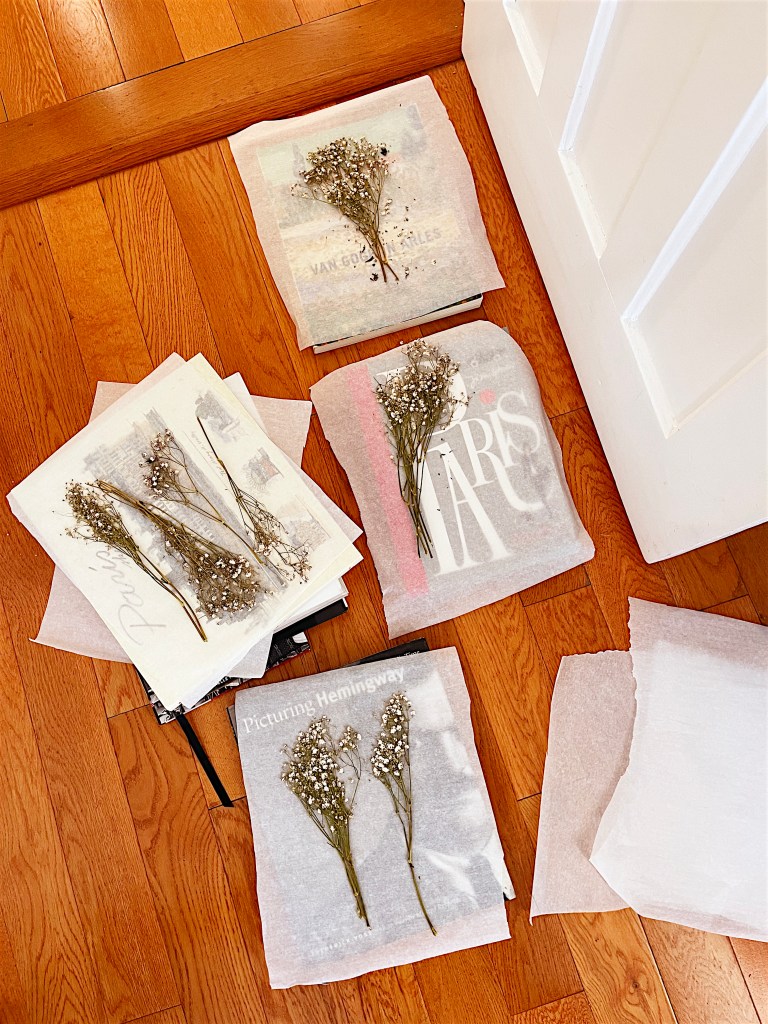
- Gently pull and separate your bouquet by the stems into individual pieces.
- Space the individual floral pieces on wax paper and make sure that there is no overlap.
- Layer each stack with a book, wax paper, floral pieces, then another sheet of wax paper and another book.
- Repeat Step 3 until all of your floral pieces are adequately layered.
- Let the flowers press for 3 weeks. After Week 3, add more weight on top of the stack and let the flowers press for an additional 2 weeks.

Part II—Framing the Pressed Flowers
What You’ll Need
- The pressed flowers from Part I
- Frames
- Pencil
- Cardstock
- Sharp scissors
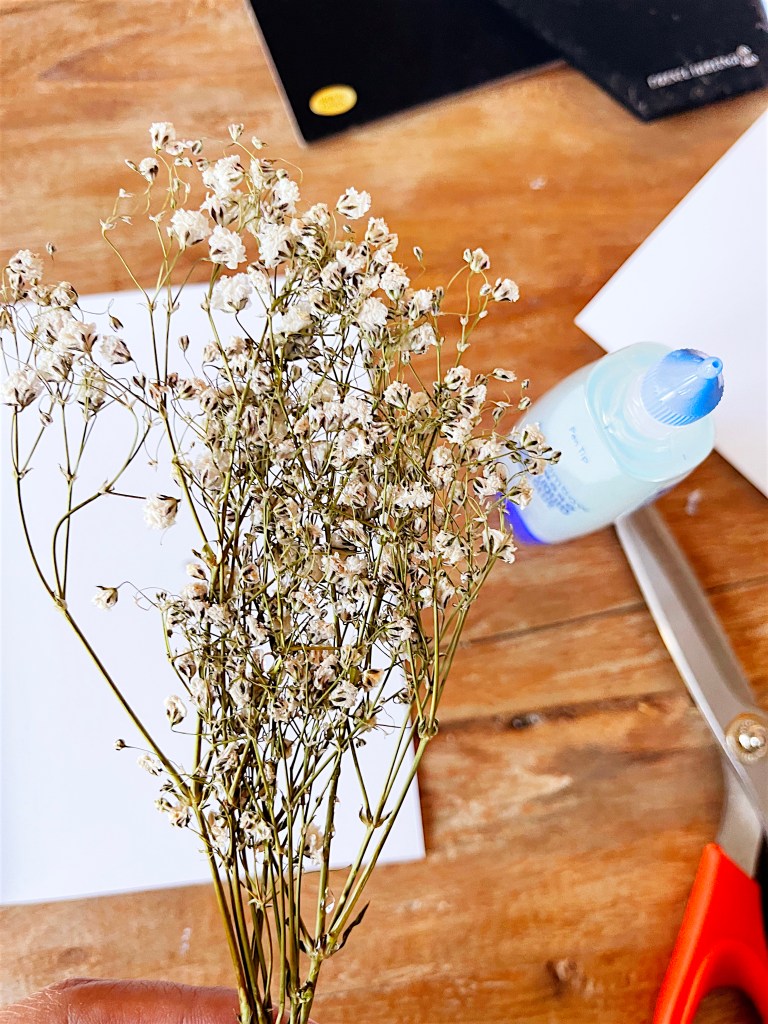
- Clear glue
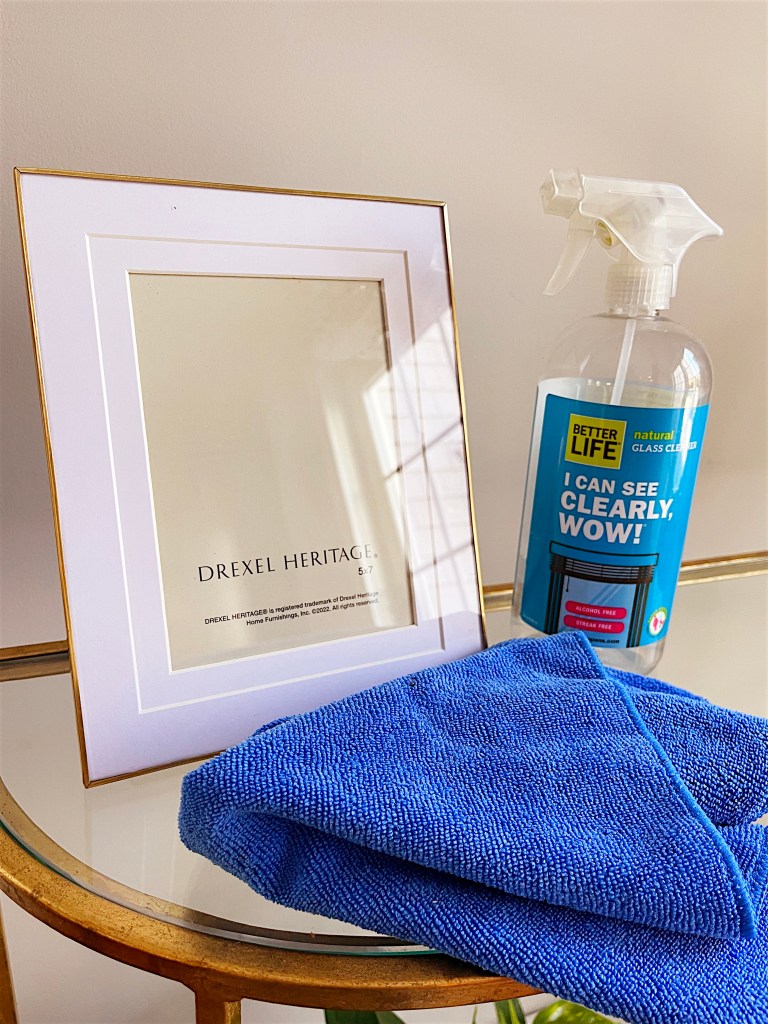
- Glass cleaner
- Microfiber cloth
Steps
- Before you start the framing process, gently remove any price tags on the frames of the glass. Clean any remaining glue with streak-free glass cleaner and a microfiber cloth.
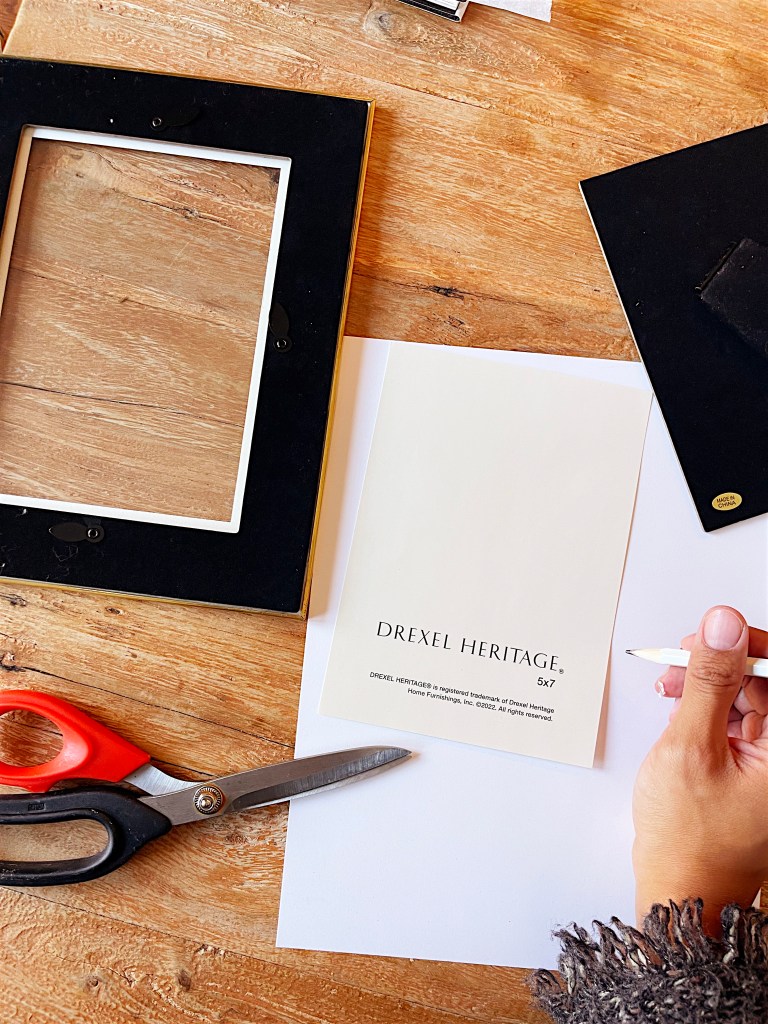
- Open the frame, remove the frame insert, then trace the frame insert on cardstock for the backing of the pressed flowers. Before proceeding, double-check and make sure that the cardstock fits in the glass.
- Lay the pressed flowers on the cardstock to your liking. Refrain from layering the pressed flowers on each other—the thicker the pressed floral arrangement, the more difficult it will be to close the frame.
- Once you have your pressed floral arrangement set, dot clear glue between the flower and the cardstock to secure the position.
- Place the cardstock into the frame and close.
- Voilà!

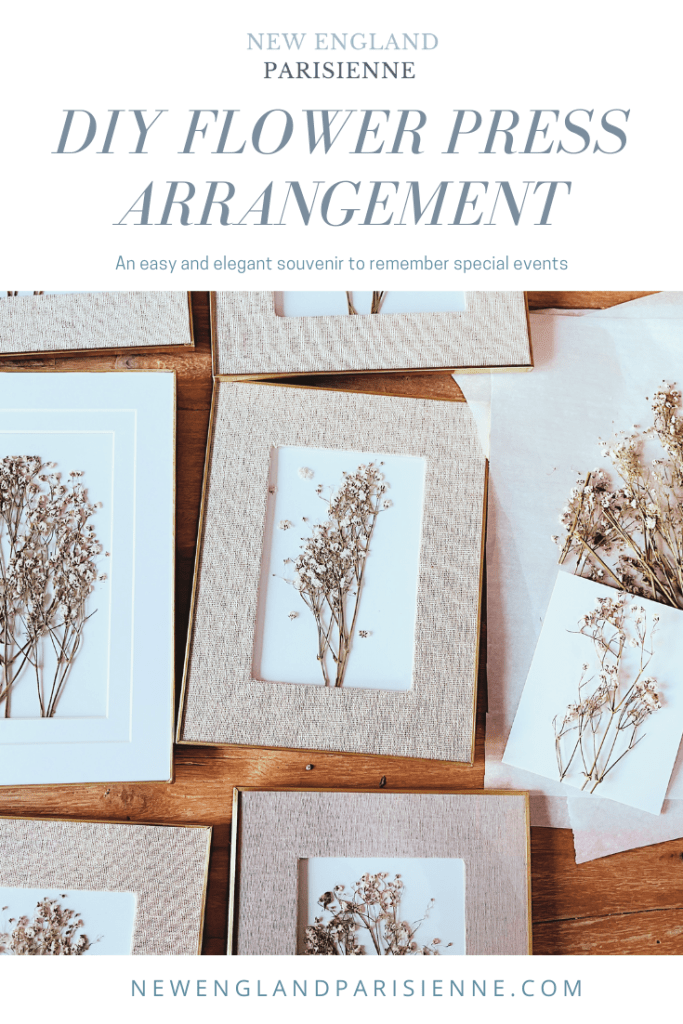

Beautiful job and such a thoughtful thing to do.
LikeLike